As your Higher Logic Vanilla (Vanilla) community grows, and more and more posts are contributed, it's likely you'll need to move some of them from one Category to another (typically because they're off-topic or just better suited elsewhere).
In this article, we'll examine the three ways you can accomplish this.
Required permissions
The ability to move posts requires two permissions:
- The
Discussion > Edit permission for the Category that the post is currently in, - and the
Discussion > Add permission for the Category you want to move the post to.
To learn more about accessing and managing your Roles and their permissions, check out the article below.
Move a single post
1. Navigate to the Recent Posts page or a post's details page.
2. Click the ellipsis (...) menu associated to the post you want to move and select Move Post.

3. In the resulting dialog, choose which Category to move the post to.
NOTE: If the Post Type you're moving is not allowed in the selected Category, this will be stated in the dialog and you will be required to either select a new Category or change the Post Type (change a discussion to a question, for example).
4. If you want to optionally provide a redirect link, check the associated box. This is typically done when moving posts that are popular, as they may be bookmarked by your users and this helps them easily navigate to the new location.
5. Click Move to finalize the change.
NOTE: During the move process, you can also optionally change the post's type via the Post Type dropdown. See Change Post Type to learn more about this process.

NOTE: If your community uses Custom Create Post Layouts, you will instead click Next to view a confirmation dialog showing the chosen move action. Click Move to finalize the change.

Move multiple posts
Do you need to move multiple posts to the same Category? Rather than performing the method above for each one, let's learn how to move multiple posts at the same time.
Before we begin...
The ability to multi-select posts and comments must be enabled for your Vanilla community before you can move multiple posts.
To check this:
- Access the Dashboard.
- Navigate to Settings > Posts > Posting.
- Make sure the Enable checkboxes on posts and comment option is toggled ON.
- Scroll to the bottom of the page and click Save.

Steps
1. On the main Posts page, check the box for each post you want to move.
2. At the bottom left of the page, click Move.

3. In the resulting dialog:
- Choose which Category to move the posts to (all posts must go to the same Category).
- If you want to optionally provide a redirect link, check the associated box. This is typically done when moving posts that are popular, as they may be bookmarked by your users.
- Click Move to complete the process.

Move posts when deleting a Category
This option is mostly used when archiving a Category, or merging two Categories.
1. Access the Dashboard.
2. Navigate to Settings > Posts > Categories.
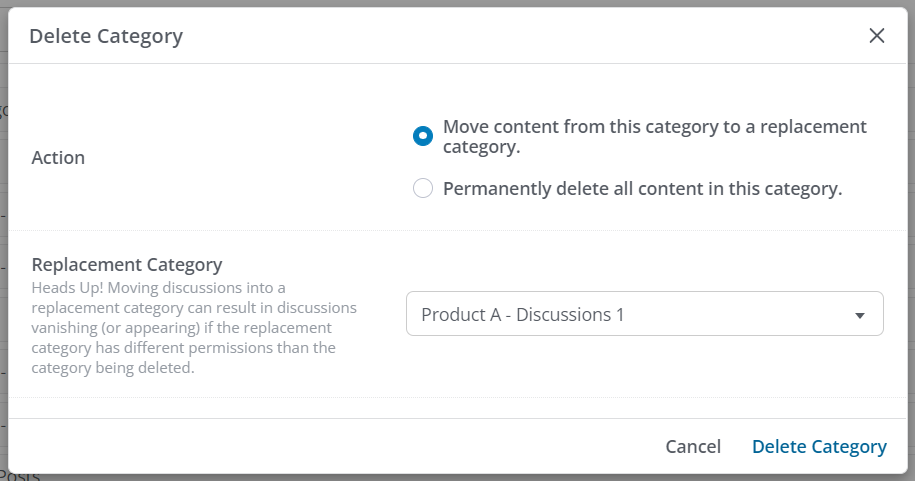
3. Click the Category's actions menu and select Delete.

4. Select the Move content... option, and select the Category to move all content to.
5. Upon clicking Delete Category, the Category is deleted and all of its posts and associated comments will be moved to the chosen replacement Category.
NOTE: Before deleting a Category, review the considerations below.
Considerations when deleting a Category
- Deleting a Category is permanent; not even Vanilla Support can bring it back.
- If the Categories in question have custom permissions, be sure to review them beforehand.
- If the allowed Post Types (Discussions, Questions, Ideas, Polls) don't align, content will be lost. For example, if the Category you're deleting contains Questions but the Category you're moving content to does not support this Post Type, those questions will be lost.

- Categories with custom permissions can also define view permissions for each Role. Depending on each Category's custom view permissions, users in certain Roles may either lose or gain access to content in the replacement Category.
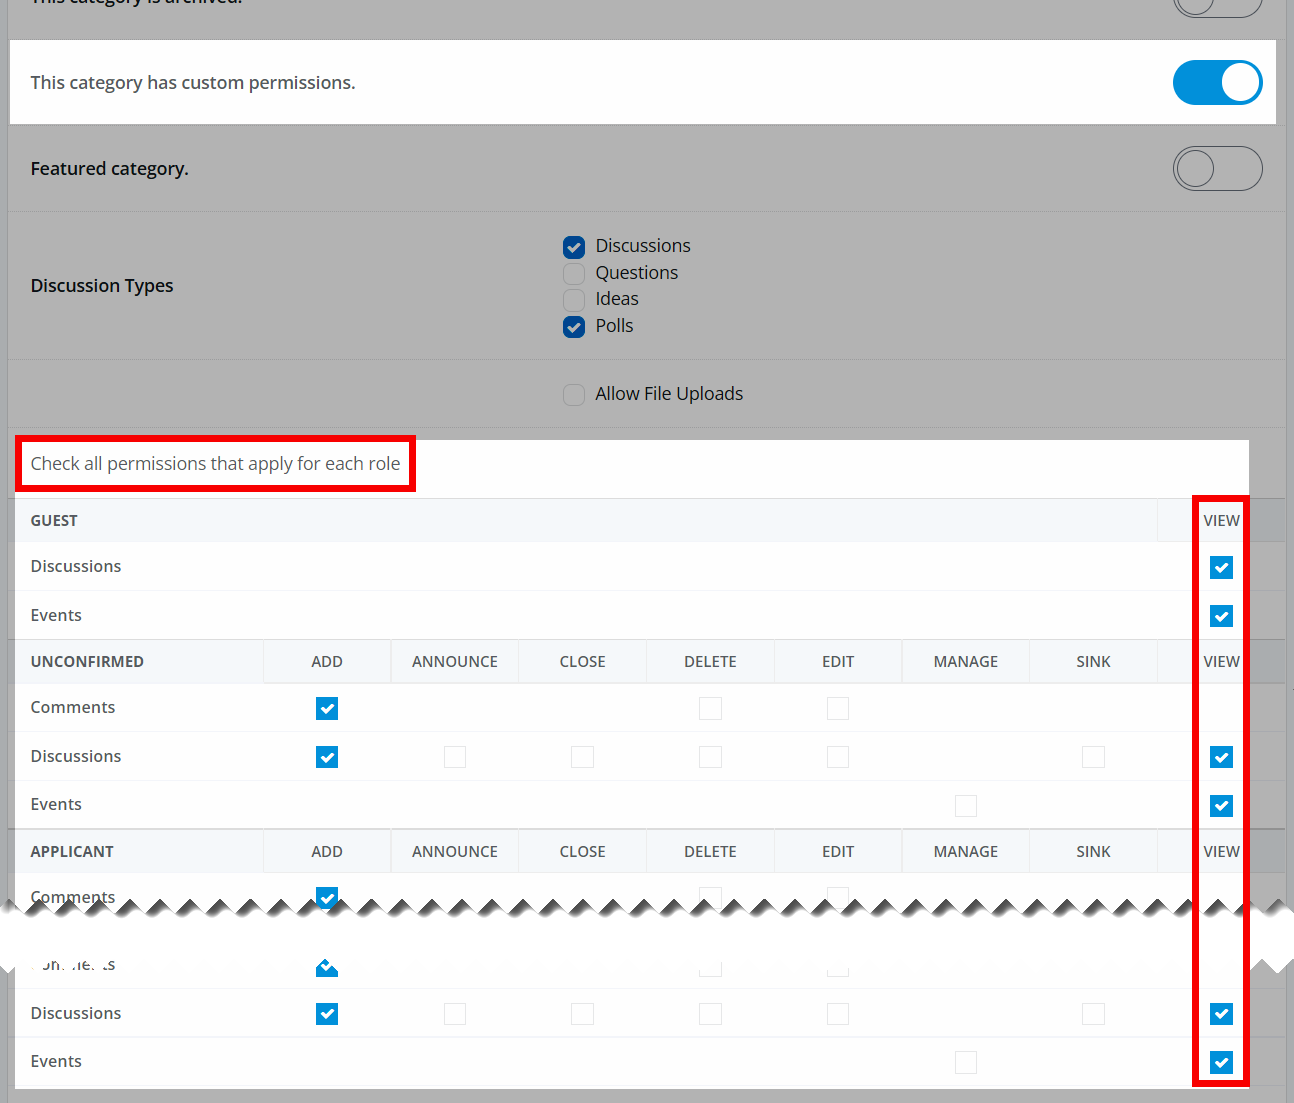
TIP: Beyond View permissions determining whether users can even see the content, you should also review the more admin-related permissions to ensure your Admins and Moderators will be able to manage the new content.
Additional resources
Click the link below to access a video expanding on what you learned in this article.