BETA NOTICE: Widget Builder is currently in active beta. Features, APIs, and interface elements may evolve as we refine developer tooling.
Access is available on staging environments for testing, and select customers have approved early access in production.
For the latest updates or to request beta access, contact your Customer Success Manager (CSM) or Account Executive.
Widget Builder is a developer-focused tool for creating custom Widgets and Fragments using React, TypeScript, HTML, and CSS directly inside Higher Logic Vanilla (Vanilla).
The File Sync feature mirrors a Widget's editable code to a folder on your local machine through your browser's File System Access API, so you can open that folder in any AI-assisted editor (Cursor, VS Code with Copilot, Codeium, etc.) and use the AI to generate, refactor, and reskin Widgets.
You continue to commit, version, and publish Widgets through Widget Builder. Local editing is designed to give you richer authoring environment.
Access Widget Builder
Review the article below for information on accessing Widget Builder.
What File Sync is good for
- AI-assisted refactors and rewrites of existing Widgets.
- Integrated Development Environment (IDE) familiarity - Use the tools and shortcuts you're accustomed to in a familiar program.
- Digging further into types - File Sync also gives you access to the types each Widget uses for reference right in your IDE.
NOTE: In TypeScript, a type is a label that describes the structure, properties, and methods of a value.
Terminology
Before you start building, it helps to understand the key terms used in Widget Builder:
Widget
- A widget is a complete, configurable component that is available in Layout Editor's widget selector (e.g., Post List, Q&A, or Search).
- Widgets are what non-technical admins place on pages to build layouts.
- Developers can use Widget Builder to create new widgets or variants of existing ones, which will then appear in the Layout Editor for easy reuse.
Fragment
- A fragment is a code template that defines how part of a widget looks and behaves.
- Most of your coding work in Widget Builder happens inside fragments.
- Some fragments represent small pieces of a widget (like a post list item), while others can act as full components (like a banner or search bar).
How they fit together
- Widgets are made up of one or more fragments.
- Fragments define a widget’s structure and behavior.
- Widget Builder is where developers create and customize fragments, which in turn control how widgets appear and function in Layout Editor.
Think of a widget as the finished product your admins use, and fragments as the parts developers assemble to build it.
Widget Builder lets you create both standalone Widgets and Fragment overrides for built-in Widgets. File Sync works the same for both.

Browser support
- File Sync uses the File System Access API, which currently requires a Chromium-based browser (Chrome, Edge, Arc, Brave, or Opera)
- The Connect control will not appear in browsers that don't support the API (such as Safari and Firefox). You may still author code in the in-browser editor on those browsers, however.
- Using File Sync does not restrict you to one method of development: You can use it and the in-browser editor interchangeably.
Local IDE
Any modern editor with AI-enabled features will work. The synced workspace is a folder of TypeScript and CSS files.
Part of the File Sync feature are instruction files for AI-assisted development. These should be automatically picked up by your IDE and provide them the context and instructions on how to help you build Widgets and customize existing ones.
Skills and environment requirements
- Developer skills: Familiarity with JavaScript/TypeScript, React, HTML, and CSS.
- Local IDE with AI assistance: An AI-assisted editor installed locally, such as Cursor or a VS Code-based IDE with GitHub Copilot, Codeium, or similar tools.
- Permissions and security: Ability to grant the browser permission to read and write to a folder on your local machine, as well as awareness of your organization’s policies for using third-party AI tools and sending code to external services.
- Organization Policy: Awareness of your organization's policy for sending code to third-party AI services.
How to connect File Sync
Let's walk through the multi-step process of connecting File Sync.
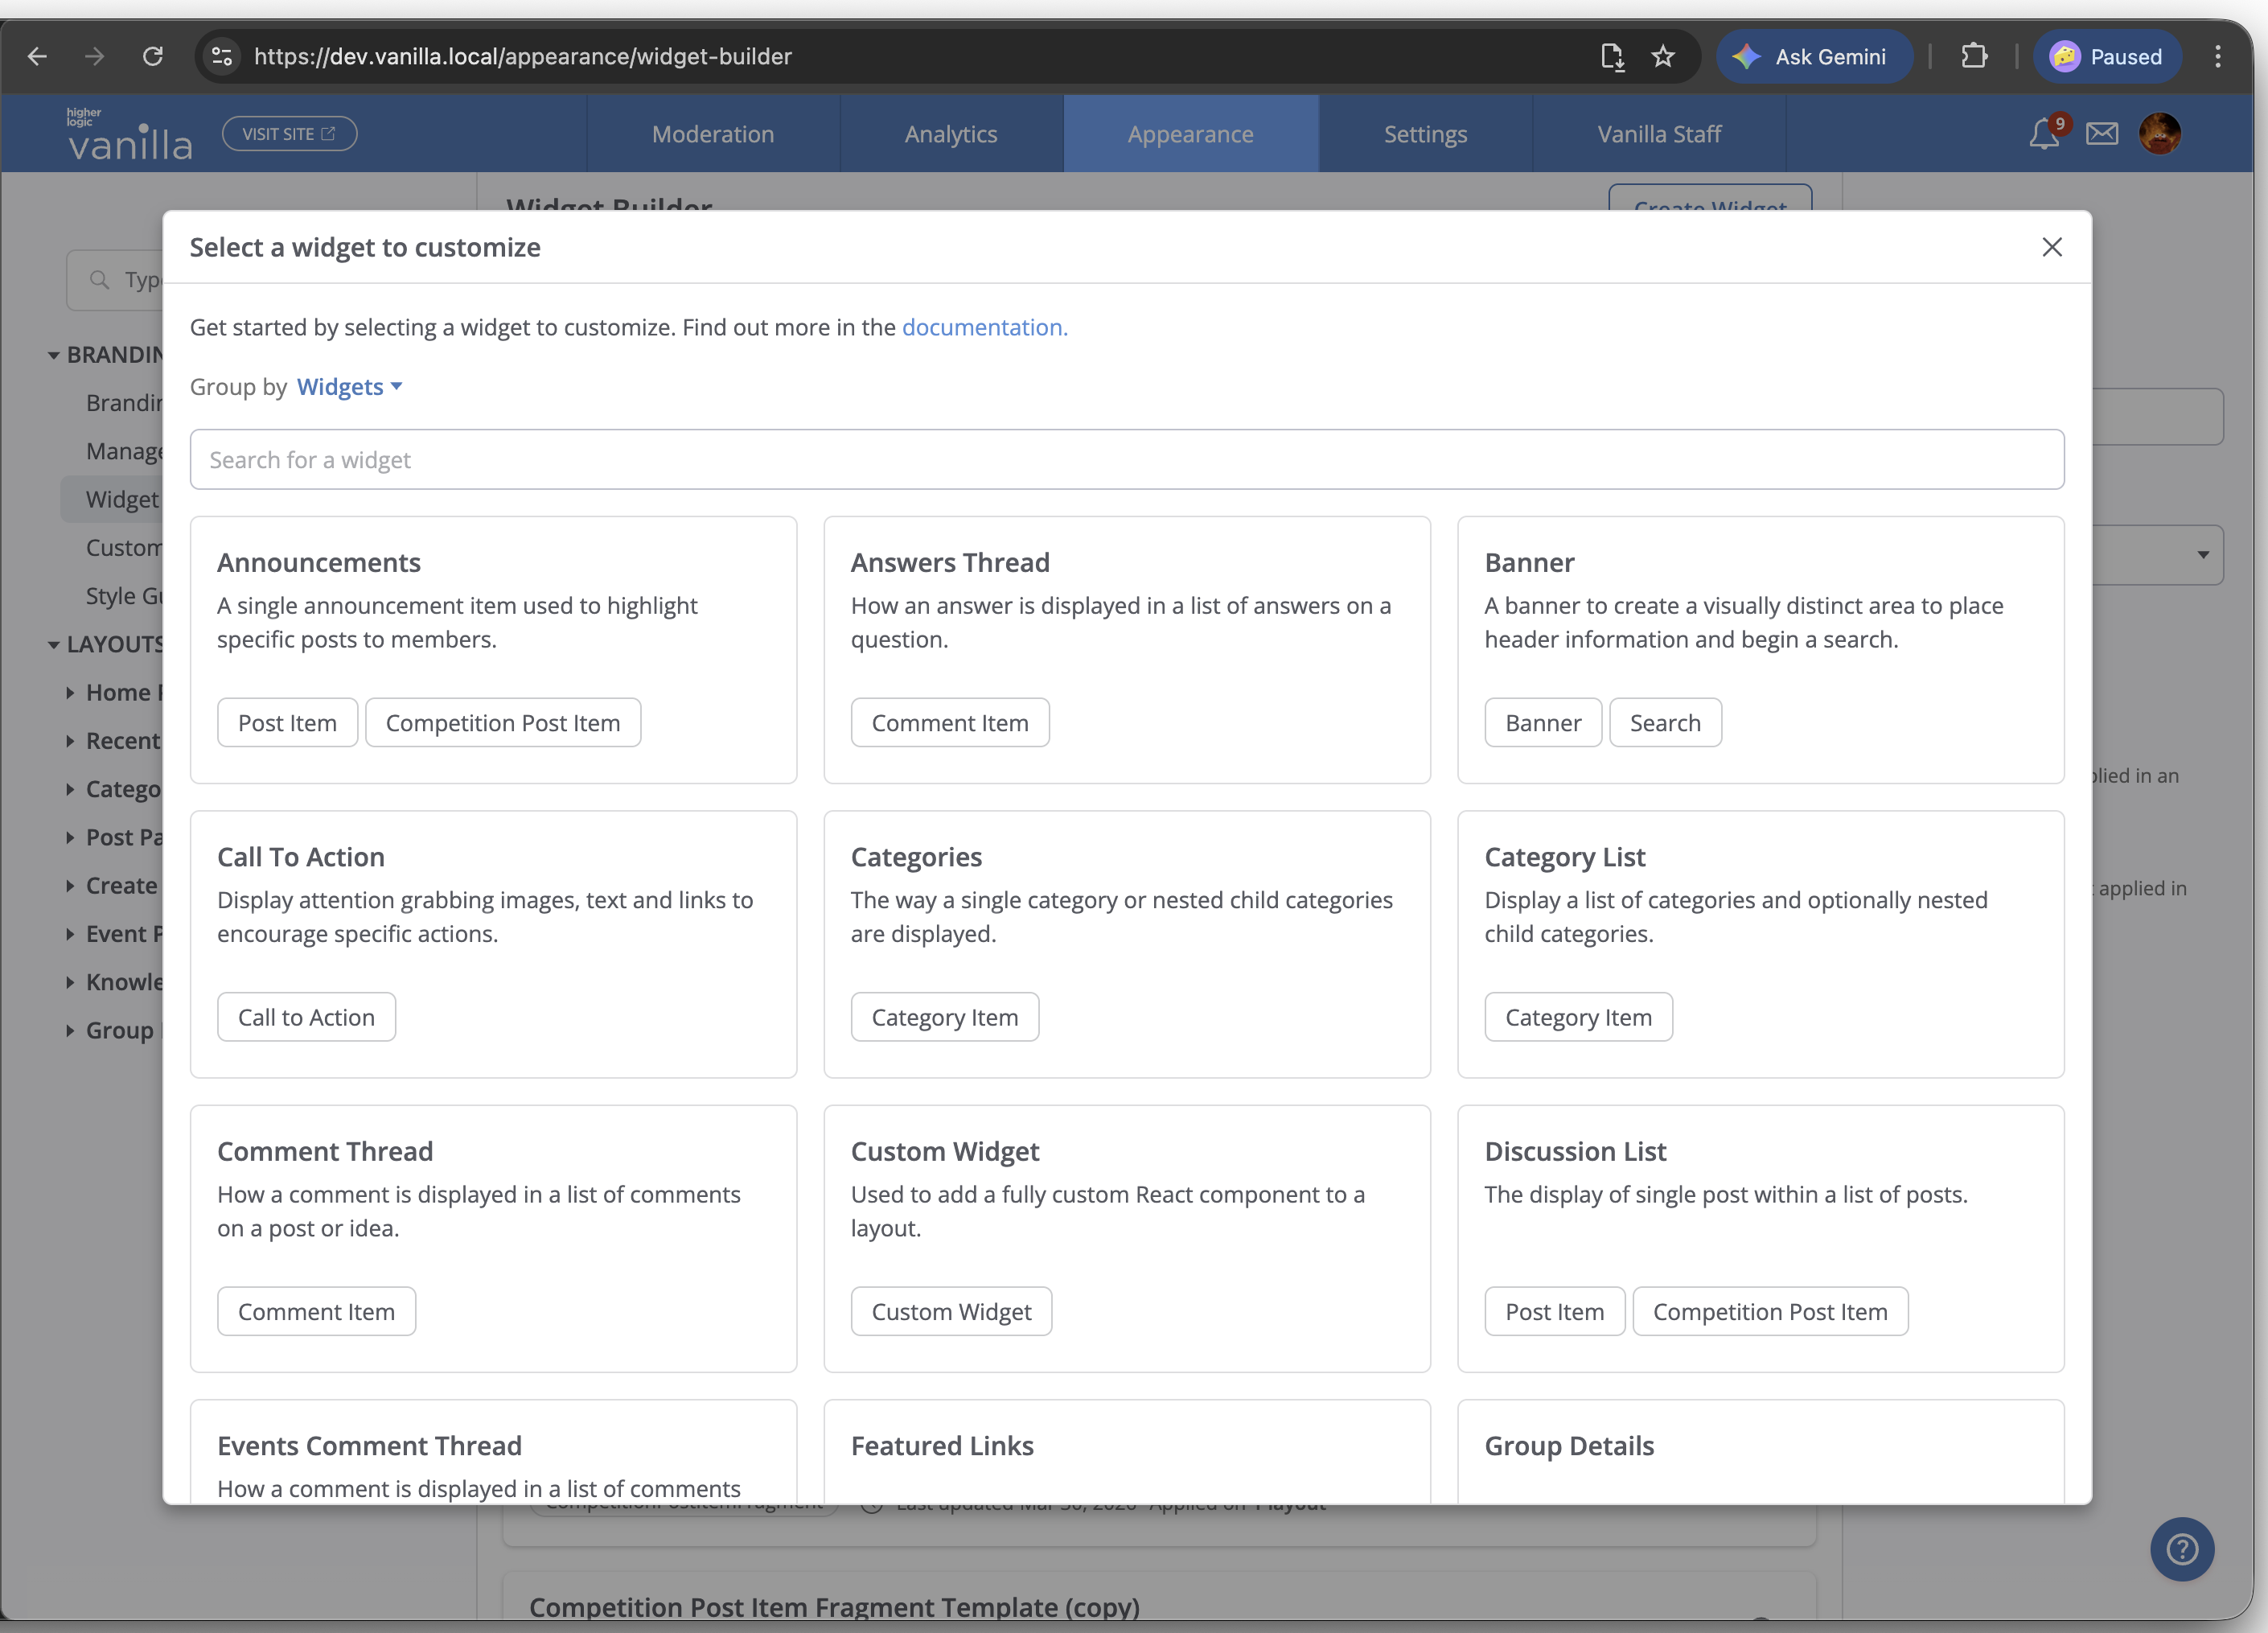
Step 1: Open Widget Builder
1. In the Dashboard, navigate to Appearance > Branding & Assets > Widget Builder.
- To create something new, click New and choose either a Widget (a standalone block) or a Fragment (an override for a built-in Widget such as Site Totals or Banner).
- To edit an existing item, select it from the list (or click its (…) menu and select Edit.
Step 2: Connect to a local folder
1. In the Widget Builder editor toolbar, click Connect. A dialog displays and explains:
- The in-browser editor will be disabled while sync is active; all edits for that session happen in your IDE instead.
- The Widget name is locked while connected. It is used to associate the Widget with the folder on your computer where you are making edits.
- When you save in your IDE, the change is detected automatically and a draft is saved in Widget Builder for you.
2. Click Select Folder.

3. Click Allow to give your browser permission to access local files.
NOTE: The browser remembers it for the site until you revoke it from your browser's site settings.

4. Select the folder to which you want the files copied.
IMPORTANT: Pick a single, dedicated parent folder that you reuse across all of your Fragments. For example, ~/Documents/code/vanilla-fragments. File Sync writes each Fragment into its own sub-folder beneath this root, so one parent folder can hold many Fragments cleanly.
Reusing one parent folder means a single tsconfig.json, .types/, and AI rules file setup serves every Fragment you sync, and you can open the entire collection in one IDE window.

Step 3: What lands on disk
Once the connection is established, File Sync writes a workspace into your chosen folder:
vanilla-fragments/
  tsconfig.json # Maps @vanilla/injectables to local type defs
  readme.md # Quick reference
  .cursor/ # Cursor rules: how to write fragments
  .types/  # TypeScript defs for every injectable
    Utils.d.ts
    Components.d.ts
    SiteTotalsFragment.d.ts
    BannerFragment.d.ts
    ...
  SiteTotalsFragment/ # One folder per fragment type
    siteTotalsRotator--a1b2c3d4/ # Per-fragment folder: name + short id
      index.tsx # Synced widget React component
      index.css # Synced widget styles5. Open the folder in your IDE
1. Open the parent folder (not just the per-Fragment sub-folder) in your IDE. Working at the root gives the AI access to:
- The full TypeScript types in
.types/. - The Fragment authoring rules in
.cursor/rules/ - All of your other synced Fragments for cross-reference.

Step 4: Edit and preview
Keep the Widget Builder tab open.
- Edit
index.tsx or index.css in your IDE. - Save the file.
- Switch to the Widget Builder tab. The File Sync Connected overlay confirms the link is live, the file change is detected in real time, and the preview re-renders with your selected preview data.
Step 5: Commit and publish
When the Fragment looks and works the way you like:
- Switch to the Commits tab.
- Use the commit / version controls to record a new version with a descriptive message
- Once committed, the Fragment is available in Layout Editor and any layout already using it picks up the new version immediately.
- When you're done, click Disconnect in the editor toolbar to release the folder lock and re-enable in-browser editing.
NOTE: Commits in Widget Builder immediately affect any layout that uses the Widget across your community. You are free to disconnect and publish at a later time.
Troubleshooting
- Connect button doesn't appear: Confirm your browser supports the File System Access API (use Chrome or Edge), and that your site has Widget Builder enabled.
- Preview not updating after a save: Confirm the Widget Builder tab is still showing the File Sync Connected overlay. If not, click Connect again and re-select the same folder.
- Permission revoked: If you cleared site permissions in the browser, just reconnect through the modal; the folder picker will prompt for access again.
- Type errors in your IDE: Make sure you opened the parent folder so
tsconfig.json and .types/ are detected.
Best practices when using AI-generated code
Treat AI as an assistant, not an authority
- Use AI suggestions as starting points, but always review and refactor them.
- Avoid copy-pasting complex snippets without understanding what they do.
Test in staging first
- Always test new or significantly modified Widgets on a staging site or custom page inaccessible to all community members before promoting it to use for all members.
- Invalid code can break Widgets, affecting every page where the Widget is used.
Avoid dangerous APIs and patterns
Be cautious if AI suggests:
dangerouslySetInnerHTMLeval()- Direct DOM manipulation patterns that bypass React's safety
These patterns can introduce XSS and other security vulnerabilities. If you must render HTML from external sources, sanitize it thoroughly and prefer well-tested libraries and platform utilities.
Keep your workflow disciplined
- Commit often and write meaningful commit messages.
- Keep Widget code modular and readable so both humans and AI tools can work with it effectively.
- Add code comments for future developers and AI tools understanding.
- Be aware that AI tools may send your code to their own services for processing, depending on your configuration.