In this article, you'll learn the fundamentals of the Higher Logic Vanilla (Vanilla) Layout Editor to obtain the skills necessary to create custom layouts.
TIP: You can copy your custom layouts to effortlessly replicate and tweak them, saving you time and effort when trying to create a consistent look or experiment with variations.

What is Layout Editor?
Layout Editor enables you to create custom layouts you can apply to various pages across your Vanilla community. The editor gives you complete control over the layout of the page and the content within it.
You can create custom layouts for:
- Home Pages
- Recent Post Pages
- Category Pages
- Post Pages
- Create Post Pages
- Knowledge Base Pages
- Event Pages
Expand a section to access its layout settings (where you choose whether to use a Legacy or Custom layout for that community area), as well as create and manage custom layouts specific to that community area.

IMPORTANT: The Subcommunity Home Layout option will only be available if (a) you're using our Subcommunities feature and (b) you have not configured a specific subcommunity as the default.
Access Layout Editor
- Access the Dashboard.
- Navigate to the Appearance tab and expand the LAYOUTS section.
- Here, you'll find subsections dedicated to the pages discussed above, and within these you can access the Layout Editor by editing an existing layout or by clicking Add Custom Layout to create one.

Create a custom layout
IMPORTANT: The Layout Editor does not automatically save your work. The best practice is to occasionally click Save at the top right of the editor to ensure your work is not lost.

- On the Appearance tab, expand the LAYOUTS section.
- Depending on the custom layout you want to create, expand the associated layout subsection and click Add Custom Layout.
- Give your layout a name.
- Begin adding and updating widgets and moving them around to meet your needs.
NOTE: Most layouts come pre-configured with one or more widgets that cannot be removed (they are required for it function). These widgets can, however, be moved and configured just like any other widget.
Continue reading the sections below to learn more about managing Sections and Widgets, as well as the Layout Editor's other features.
Section types
You can customize your custom layout with the following Section types:
- 1 Column - Default
- 1 Column - Full Width
- 2 Columns - Default
- 2 Columns - Even
- 3 Columns - Default
- 3 Columns - Even

Manage Sections
Sections provide the foundation or layout of the page, and are containers in which to hold its content. Sections can have one or more columns, and one or more widgets can be added to each column.
NOTE: The widgets you can add to a Section are filtered based on the section type. For example, you can only add three widgets to the Full Width section type, and two of them are banners.
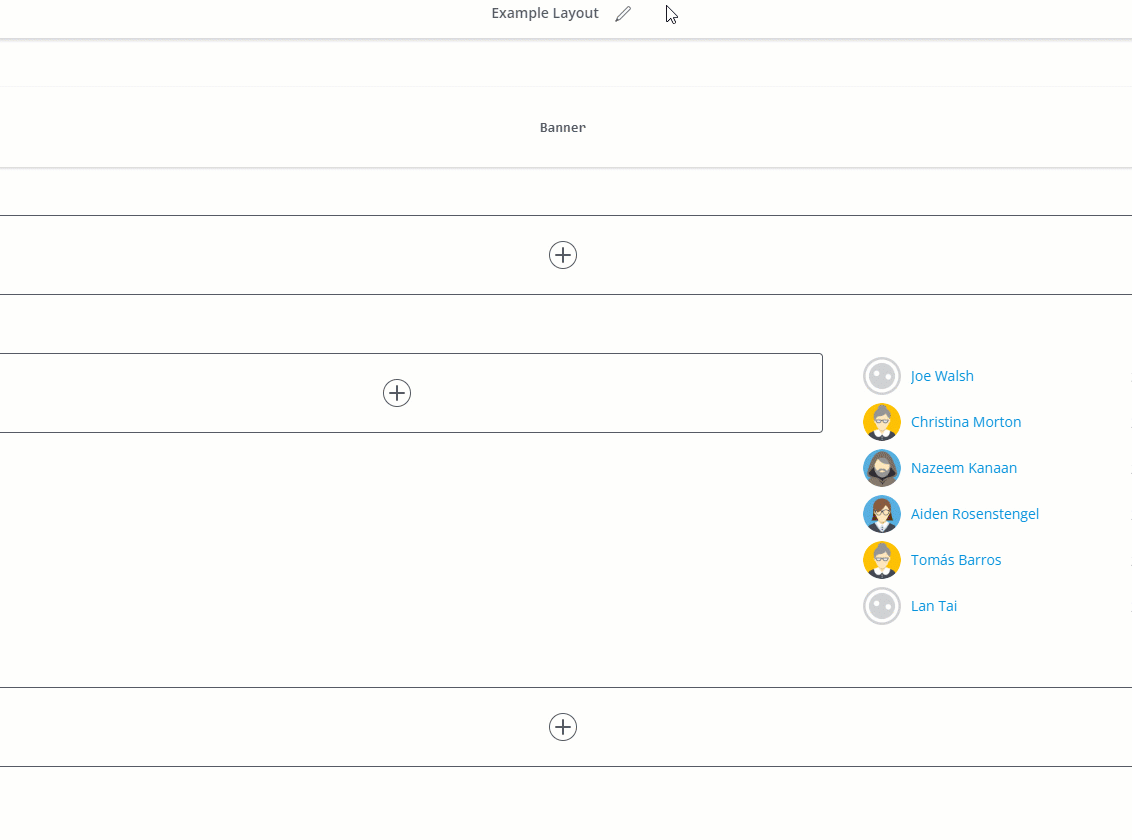
Add a Section
- Hover your cursor above or below another Section; a (+) appears, as shown below.
- Click the (+) and select a section type in the resulting popup.
- Click Add to insert the section type.

Move & delete Sections
Hover your cursor slightly outside a Section's border, and click to select it. In the resulting pop-up menu, you can:
- Click the up and down arrows to reposition the Section vertically.
- Click the trashcan to delete it. Note that no confirmation is prompted; the deletion is immediate.
TIP: The 2 Columns layout has a unique option: click the right/left arrows to swap the columns back and forth. An example of this is shown below.

IMPORTANT: You cannot undo an action, so keep this in mind while working. This is especially important when deleting Sections, as all associated widgets are also deleted.
Breadcrumbs
You can add breadcrumbs to your Sections. To do so:
- Click to select a Section.
- Click the button highlighted below.
Once added, you're free to move the breadcrumbs around.

Widgets
Widgets are what you add to Section columns to control what content is available.
TIP: This article only focuses on how to add, move, and delete widgets. To learn about each widget, including its purpose and configuration options, check out:
Add a Widget
Numerous widgets are available, and each has a set of configuration options you can use to tailor the widget to your needs.
NOTE: The widgets you can add to a Section are filtered based on the section type. For example, you can only add three widgets to the Full Width section type, and two of them are banners.
- Click the (+) in a Section column.
- Select a Widget in the resulting popup and click Add.
- You can now update the widget's basic details and configure any available parameters. A preview of the Widget is provided, which updates in real-time as you work, making it easy to get everything just right before you even add the Widget to the layout.
- Click Save to add the Widget.
Move Widgets
- Click a Widget to select it.
- Click and drag the Widget to reposition it in the desired location, whether within the same Section or to another one altogether.

TIP: Widgets move independently of their Section and can be moved outside their Section. For this reason, if you want to move a group of Widgets, it's often better to simply move the entire Section to keep the Widgets together.
Delete Widgets
- Click a Widget to select it.
- In the pop-up, click the delete (trashcan) icon.
IMPORTANT: The deletion is immediate. There's no way to undo this action, so keep this in mind while working.
NOTE: Not all Widgets can be deleted: some default Widgets are required for certain layouts to function and cannot be deleted. In these cases, the delete icon will be grayed out.

Edit a Widget
- Click to select a Widget, and then click the pencil icon.
- You can make changes to all details and configuration options just like when adding the Widget originally. A preview of the Widget is provided, which updates in real-time as you work, making it easy to get everything just right before you save your edits.
- Click Save to apply your changes.

Preview layout content using Role Preview
When creating or editing a layout, you can check what Widgets will be visible to each of your community Roles using the Preview Roles feature. When active, Widgets will show/hide in Layout Editor based on their configured Role(s).

The Preview Roles feature allows you to preview content on a Role-by-Role basis before making a layout live, helping you more easily plan your layout content to meet the goals of your community and its diverse audience.
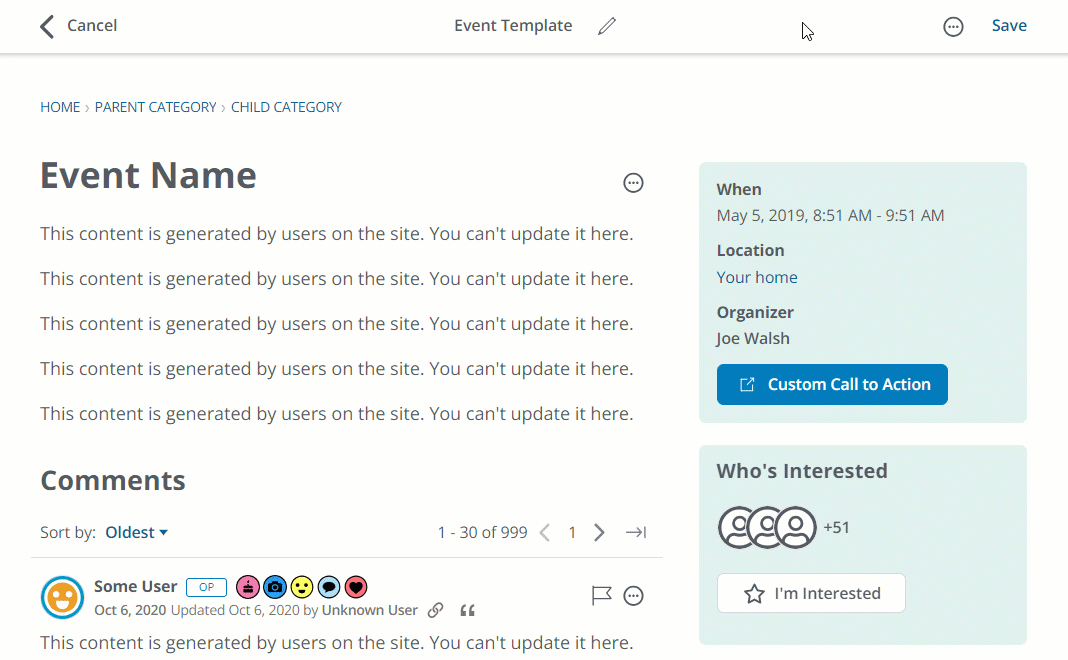
- While creating or editing a layout, click the ellipsis (…) button.
- Select Preview Roles (any currently active Roles are listed in the menu, as shown in the image below).
- In the popup, click the Select Roles dropdown and select one or more Roles with which to preview the layout.
- Click Preview.
TIP: You can select multiple Roles at once. It's often best to preview one Role at a time, though, to clearly see the content applicable to it.
TIP: Remove a Role via the X button, or click Clear All to remove all of them.

Style Guide previewing
When creating or editing a layout, you can apply any of your themes to preview how they will look. This is a great opportunity to check for accessibility concerns and preview a layout with various themes prior to applying it in your live environment.
- While creating or editing a layout, click the ellipsis (…) button.
- Select Change Preview Styleguide (the currently active theme is listed in the menu).
- In the popup, locate the theme you want to preview. ✔️ TIP: Type a theme's name in the Filter field to easily find one. The displayed themes will filter more and more as you type.
- Click Preview.
Save a layout
You can save a custom layout at any time during the creation process; in fact, this is recommended at certain intervals to ensure no work is lost (no drafts of your layouts are automatically saved).
To save your custom layout, click Save at the top right of the editor.

Afterward, your custom layout is stored in its applicable location, as highlighted below. For each custom layout, you can:
- Select it to view a preview of the layout,
- click Edit to make changes,
- click the ellipsis (...) menu to apply the layout to one or more pages, delete it, or make a copy. Refer to the Apply a custom layout section below to learn more about this process.

Apply a custom layout
Once a custom layout has been created and saved, it can be applied in several ways. To learn more about this process, check out the article below.
Keyboard accessibility
The Layout Editor includes full keyboard accessibility. Below is an overview of the usable keys and their functionality.
Layout Editor levels
The Layout Editor has three levels: (1) Main editor, (2) Section, and (3) Widget.
- Press enter (Windows) or return (Mac) to "move in" to the Section and Widget levels.
- Press esc to "move out."
Navigate the editor
- Use a combination of tab and the arrow keys to navigate the editor. This includes popups like when selecting a Widget.
- Press the spacebar to make a selection, such as to add a Widget to a column, to add a Section, or to select Cancel or Add in a popup.
- With a Section selected, press tab to access the options menu, and then the up and down arrow keys to navigate the options. Press the spacebar to select an option.
- Similarly, with a Widget selected, press tab to access the options menu, and then the left and right arrow keys to navigate the options. Press the spacebar to select an option.
Advanced editor
You can click Advanced at any time to view a textual representation of your layout's structure and content. This is known as the Advanced editor.

TIP: All work done in the Layout Editor is automatically added to the Advanced editor, and vise-versa.

What is the Advanced editor used for?
Generally speaking, you don't create or edit a layout via the Advanced editor, as this is more easily accomplished using the Layout Editor. Rather, this editor has two uses:
- Building layouts via the API
- Copying layouts between sites
Additional resources
Click the link below to access a video expanding on what you learned in this article.